Showing posts with label bathroom. Show all posts

Friday, January 3, 2014

Tile

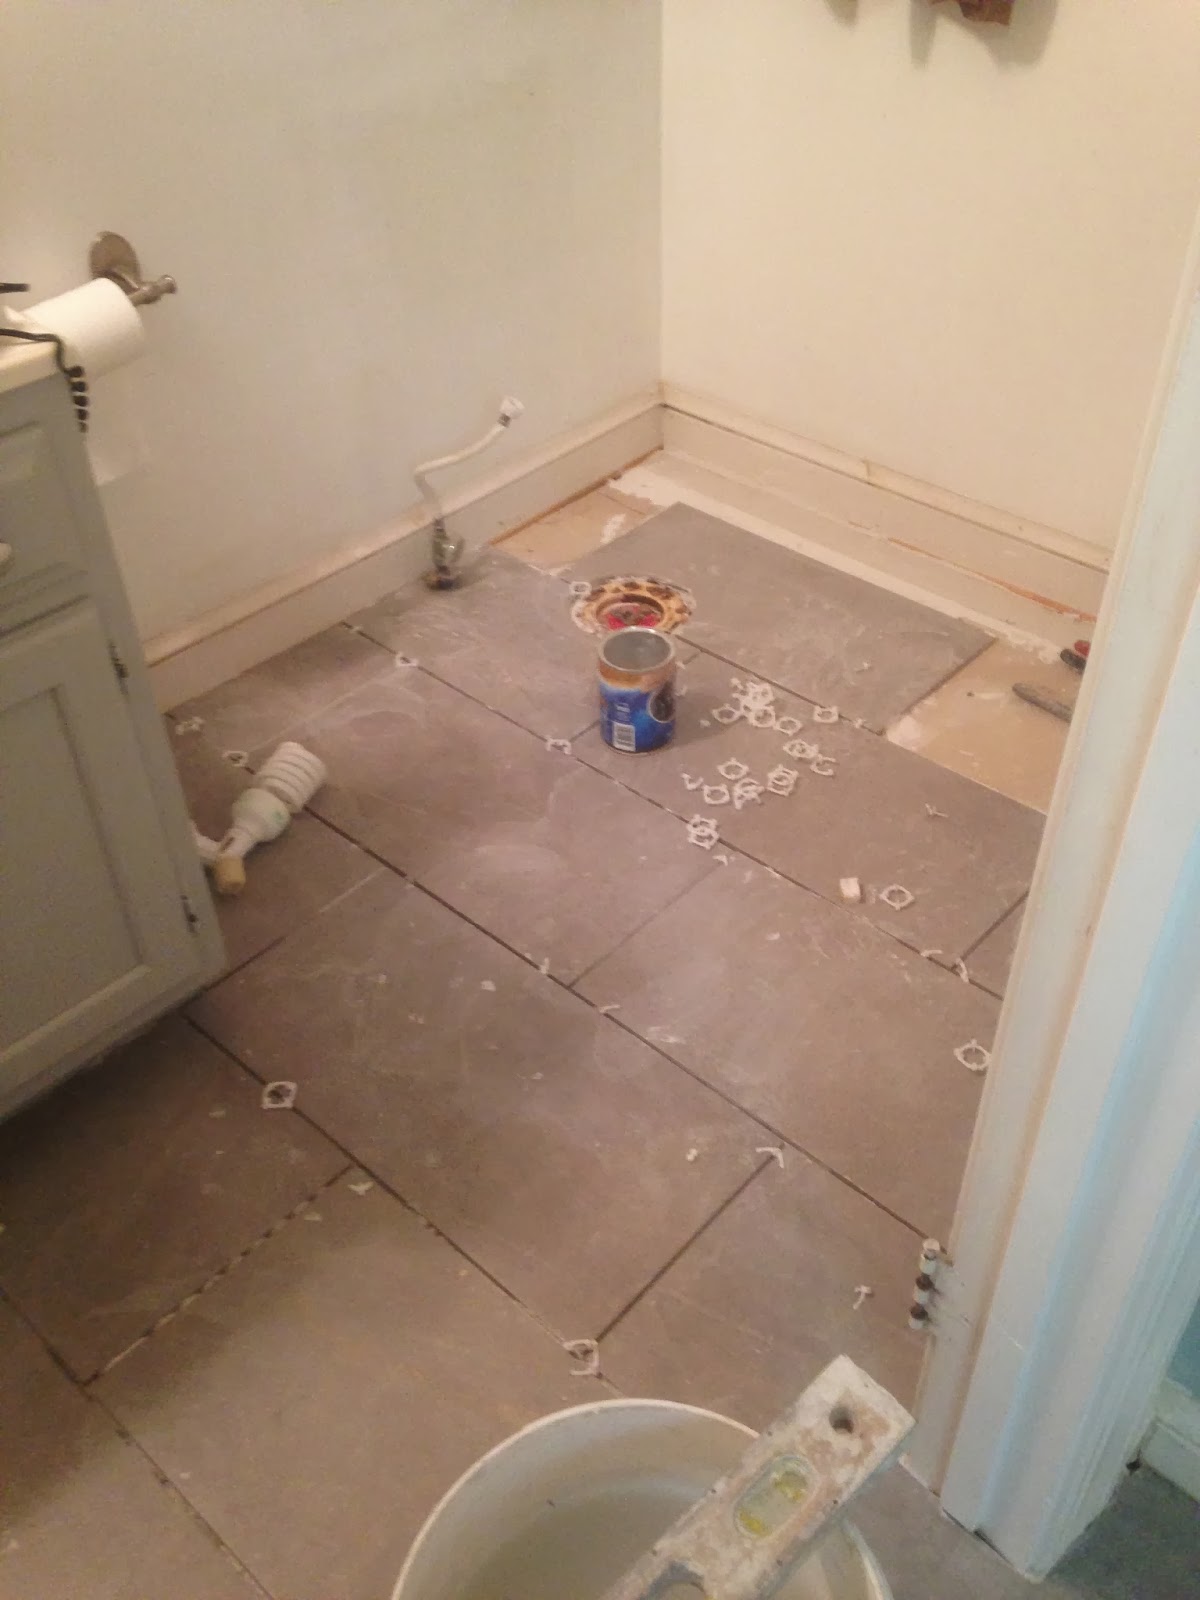
This house was on the market a year. On my first look it had turquoise kitchen counters and old floors. When I came back for later looks some quick fixes had been made. One was to put stick down tile in the laundry room and back bath. They were OK for the first few years, but with wear and tear and water spills from the leaking washer they were lifting at the edges. My rugs covered the worst of it. but finally we bite the bullet and called Mark. We decided on 6x12 gray.
 The floor had a slight dip that was leveled and a few tricky cuts around a heat vent by the shower.
 It looks great.


 Now it is kinda hidden by backpacks and laundry baskets, but I know it is solid.
While we were in the tile mood

Thursday, October 10, 2013

Bathroom: Again....It Never Ends

We thought we were done! On the other hand, a cracked drain at my daughter's house has led to a gut job there.
A good deal of mold up the wall.
We discovered some dead space.
The shower was enlarged and two cubbies are going in on the other bathroom wall.
The bottom layer of wallpaper (I hate wallpaper) was applied without a primer coat of paint. A bear to remove. So we just gutted it all.
No insulation behind the cabinet!
Or any where else.
Final product, it was hard to get a full image since the space is sooo small.
 
 
The extra ten inches make a world of difference. Niches on the other bathroom wall will happen in  January.

Tuesday, September 24, 2013

Bathroom: Ta Da Finis

Finally everything's in place.
Worth the wait.

Monday, August 12, 2013

Renovation: Bathroom Vanity II

To finish up on the vanity transformation....

The vanity moved inside before the holes were cut ... probably could/should have done that in the garage since it was very dusty.
With the vanity in place the electrician could come back and set the lights.
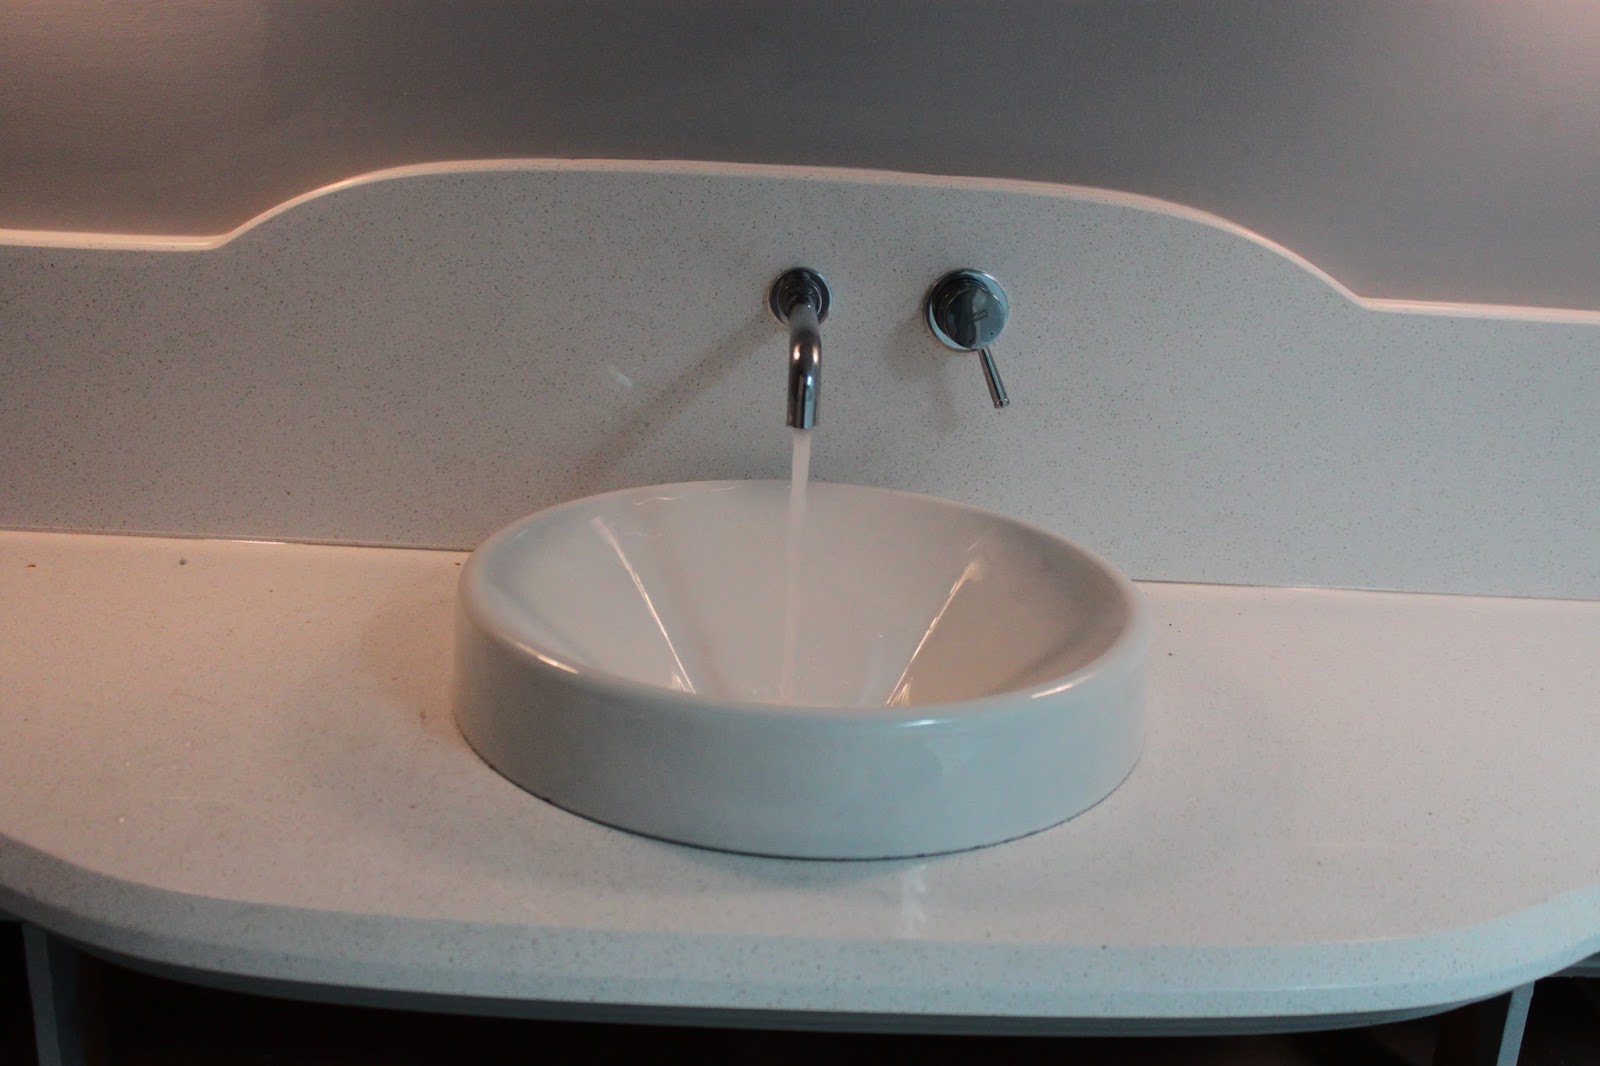
The top was set in place but the stone guys had to come and cut the back for the faucets.
The top was glued down first.
Very careful measuring to get it right.
 Perfect fit
 The final slabs on the shower wall went in  next.
Both drawers are useable. I was going to have the drawers taken to a cabinet maker, but decided I could DIY it. I added a guide for each drawer.
Put an additional guide on the drawer.
Stabilized and made compartments for each drawer with 1x4, wood glue and screws.
It gives me most of the two top drawers. The whole thing is turning out close to my sketches.
We are loving it.